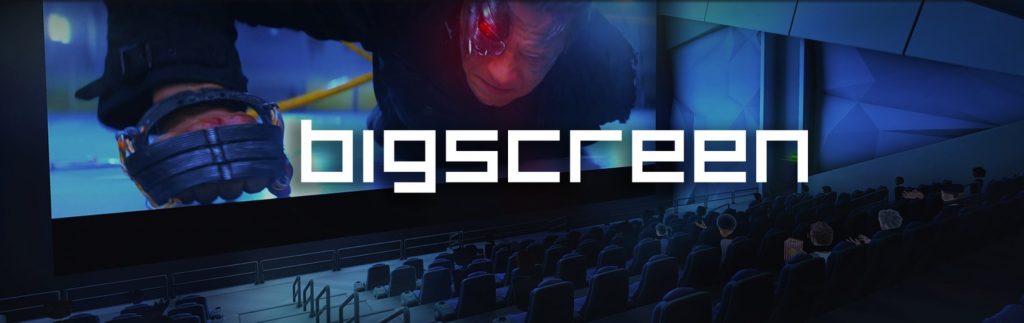
What is bigscreen?
In their own words, “Bigscreen is a virtual world where people hangout with friends, collaborate with coworkers, play games, and watch movies”. In other words, it is a social platform where you can watch videos (Tv, film or your own recordings) with friends and others. This isn’t some gimmick – there’s some Hollywood blockbusters to be viewed here and there are a number of virtual rooms to enjoy them in.
The app itself is free. There are a number of TV rooms which run 24/7, so if you fancy getting your fix of Comedy Central, Rick and Morty or just some sport on CBS then go ahead. You’ll be placed in 1 of their many rooms where you may be seated next to some other viewers just like you would in real life. Except with bigscreen, you can mute them if you wish.
Whilst they do have some free rooms – with the occasional ad of course – they do have a decent offering of rentals. Prices can vary but are usually marked up at $3.99. There are some 3D films in the library too but the choice is limited. Nevertheless if you’re going to rent one, we suggest you experience these first.
Bigscreen does however, offer us the option to upload our own content to view – for free!. You can watch it in your own private room or watch with friends, provided they too have the file stored on their local machines. If they do, bigscreen with automatically sync everyone in the room so you are all watching it at the same time. The app also works cross-platform across all supported headsets too, so it doesn’t matter if everyone isn’t using a Quest or a Vive for example.
At this time bigscreen supports Oculus Rift, HTC Vive, Valve Index, all Windows VR headsets, Oculus Quest and Oculus Go.
You can use any (legally) obtained video files, bigscreen is just a video player not a file sharing service. This means if you have your own 3D video you can use that too. Bigscreen supports 2D and 3D video and pretty much all common file formats.
We will guide you through the process of how you can upload your own videos to view in bigscreen.
- The best way is to set up a DLNA server onto your PC or laptop so that you can store the movie files on there and load them into bigscreen from your network. Otherwise, you will need to transfer the files onto the headset to watch them locally. Your PC or laptop will need to be turned on to access your movies.
- The easiest way to do that is to download Plex server for Windows or Mac.
——-Plex Setup——-
Download from here: https://www.plex.tv/en-gb/media-server-downloads/
- Install Plex. We recommend that before you open it, you make a folder somewhere on your computer where you plan to store your movie files.
- Open Plex up from your programs. It should open your internet browser and give options for logging in. If it doesn’t, click the expand arrow (^) on your system tray (Windows) and double click the Plex icon. Alternatively, open your browser and type 127.0.0.1:32400/web into the address bar, hit enter and it will take you to the Setup screen.
- You will need to make a Plex account. You wont need a Plex pass, what we need is free, so close the pop-up window when it asks you about it. Go through the basic setup steps and add the folder you just created to your Media library, give the new library a name. It will ask for the folder location. Point it to the movies folder you created. Optionally, go to advanced and uncheck “Enable Cinema Trailers” so it doesn’t play trailers before your movies. Finish the basic setup.
- You should now be at the Plex home screen. In the left pane where it lists “Live TV” etc. Go to ‘More’, you should see the name of the library you added to Plex. Click the three dots next to it’s name and pin it. Click the home icon and you should see it in the list on the left. Now go to settings (it’s a tool icon in the top right of the Plex home screen). In the left pane, go to DLNA. Check ✅ the “Enable the DLNA server” checkbox. Scroll down and save changes.
——-Adding movies——-
- This method involves ripping (copying from disk to computer) physical copies of movies or TV shows that you already own. To rip DVD or Blu-ray discs, you will need the correct disc drive in your computer. A Blu-ray drive is capable of ripping both Blu-ray and DVD, whereas a standard DVD drive can’t rip Blu-ray discs.
- To rip from a DVD you will need Handbrake and libdvdcss for this to work. You can get that here https://handbrake.fr/downloads.php. A more detailed guide can be found here https://www.howtogeek.com/102886/how-to-decrypt-dvds-with-hardbrake-so-you-can-rip-them
- To rip from a Blu-ray you will need MakeMKV and Handbrake. Use the link in the DVD step for Handbrake and get MakeMKV from here https://www.makemkv.com/download. A more detailed guide can be found here https://www.howtogeek.com/161498/how-to-backup-your-dvd-and-blu-ray-movie-collection
- You should now be able to save your movies to the folder you created for your Plex library.
——-Playing your movies in bigscreen——-
- When you connect to your Plex Server for the first time and after all the configuration we have been doing, we recommend you restart your PC or laptop before opening the bigscreen app in your headset. Under apps, go to Video Player. Choose “DLNA Media Servers” and you should see your Plex server. Then open the Videos tab and you should see the name of the Plex library you created earlier. Open it, go to ‘All’ and you should see your movie!.
- When a 3D movie starts playing, you’ll maybe notice that 2 images are stacked, either side by side (SBS) or over under (OU). To make it one image and to appear 3D, pull the trigger on your controller whilst pointing at the screen. Go to the settings cog and toggle the 3D Mode until it’s either SBS or OU to match the movie you’re watching.
——-I have sound or video problems——-
- If you are experiencing issues with sound, this may be because bigscreen is having issues with a certain audio codec that may not be supported.
- If it is an MKV file type that is playing without audio, you can try this step.
- We are going to strip the audio from the MKV file
- Download MKVToolNix from here: https://www.fosshub.com/MKVToolNix.html
- Install it.
- Open it up and in the box under “Source files:” right-click it and “Add files”. Point it to the MKV file which you are having sound issues with.
- In the “Tracks, chapters and tags:” under codec, uncheck everything except the 1 audio track you want to keep (if it has multiple audio tracks then check the language you want to keep).
- At the bottom, change the destination file to where you want to save the MKA file to and then click “Start multiplexing”. Leave the program open whilst you complete the next step.
- This step involves converting the audio file. You will need to download FormatFactory to convert the MKA file to a format supported in bigscreen. You can get that here: http://pcfreetime.com/formatfactory
- Install it and open it up. Open Windows Explorer and find your MKA file. Drag it into the white box in FormatFactory. A window should pop up so click AAC on the left pane. On the right, click “OK->Start”, it will save in the same folder as the original MKA file.
- Replace the original MKV’s audio with the converted audio.
- Now go back to MKVToolNix.
- At the bottom, click “Add source files” and find the AAC file you just created with FormatFactory. Now in the “Tracks, chapters and tags:” box, check ✅ everything except the old audio tracks. Make sure your AAC audio is checked. Choose your destination file at the bottom and click “Start multiplexing”
- Now simply place the MKV file in your Plex Library folder and now the audio should work fine in bigscreen.
——-Watch with friends and family——-
- To watch the ripped movie with others then your friends may need to go through the same process that you have so that they have the same file on their local machine. Unless you are both in the same house and on the same network of course, then it will work fine because their headset can access the file from your Plex Server too. If your friends own the same video rights you could simply create a copy of this file and share – but they will need to place inside their own Plex server still.